Struggling with slow product iterations? Here’s how smart prototyping can help.
Prototyping isn’t just a step in product design and development—it’s the fast lane. In a world where time-to-market can make or break your product’s success, rapid prototyping is your best friend. Whether you’re testing a hardware device or building a sleek new mobile app, the right prototyping technique helps you visualize, validate, and improve ideas before investing in full-scale production.
At Shark Design, we’ve helped countless entrepreneurs and brands move from concept to reality faster than they thought possible—thanks in large part to iterative prototyping. In this post, we’ll walk you through seven effective prototyping techniques that accelerate the product design process without sacrificing quality.
What is Rapid Prototyping?
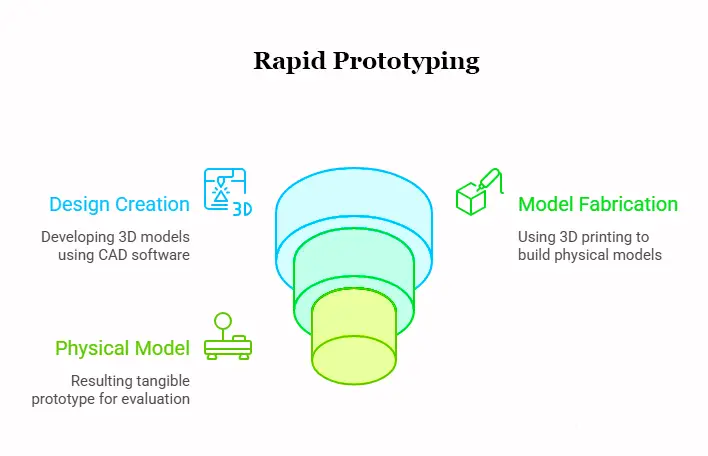
Rapid prototyping refers to quickly building and testing simplified versions of a product to validate ideas, gather user feedback, and streamline development.
Think of it as a dress rehearsal for your product. Instead of going straight to production and risking costly mistakes, you explore different ideas in a low-risk environment. This iterative approach encourages experimentation, speeds up decision-making, and reduces the chances of rework down the line.
Why it matters:
- Faster feedback loops: Quickly test assumptions and make design decisions.
- Cost savings: Avoid over-engineering or manufacturing errors.
- Improved user experience: Validate usability early in the process.
At Shark Design, rapid prototyping is integrated into every phase—from early sketches to functional, high-fidelity mockups. We tailor the method based on the product’s complexity, goals, and timeline.
7 Best Prototyping Techniques for Speed & Efficiency
Below are seven fast prototyping methods we regularly use at Shark Design to turn ideas into validated concepts:
1. Paper Prototyping (Low-Fidelity)
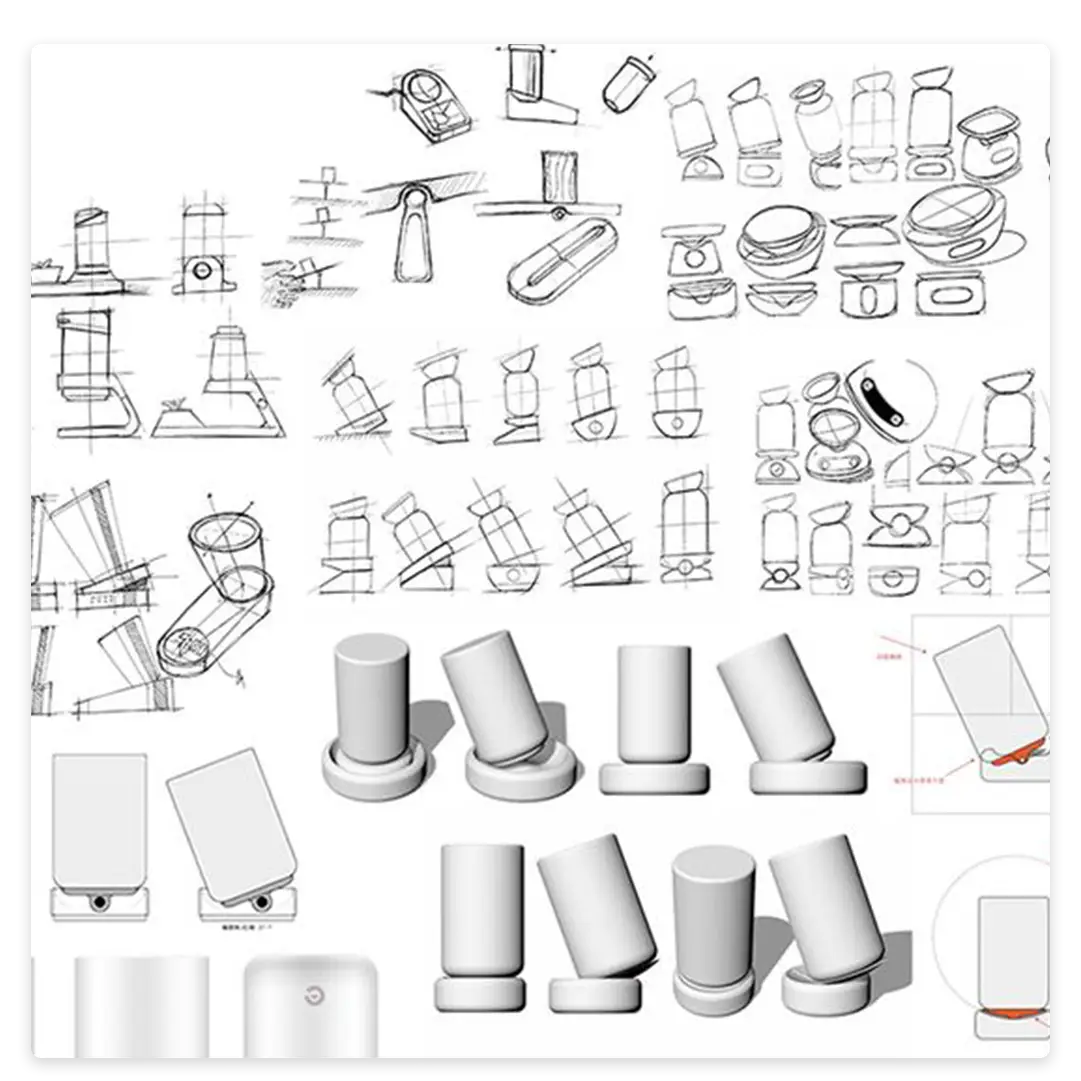
Sometimes, the best way to start is with a pen and paper.
Paper prototyping involves hand-drawn sketches that map out user flows, UI layouts, or physical product forms. It’s perfect for brainstorming sessions, early user feedback, and spotting usability issues before diving into digital tools.
Best for:
- Early-stage product concepts
- User interface layout planning
- Quick team collaboration
Example:
When developing a smart wearable, we sketched various form factors and button placements before moving to 3D modeling. This helped us rule out less ergonomic ideas without wasting time.
2. Digital Wireframing (Mid-Fidelity)

Digital wireframes take your paper sketches to the next level using tools like Figma, Sketch, or Adobe XD. These mid-fidelity prototypes allow clickable interactions and screen transitions—ideal for web or app design.
Best for:
- UI/UX mockups
- User journey testing
- Stakeholder presentations
Benefits:
- Faster than coding
- Easy to edit and share
- Useful for early usability tests
At Shark Design, we use digital wireframes to simulate user flows and get feedback before investing in full UI design or development.
3. 3D Printing (High-Fidelity)
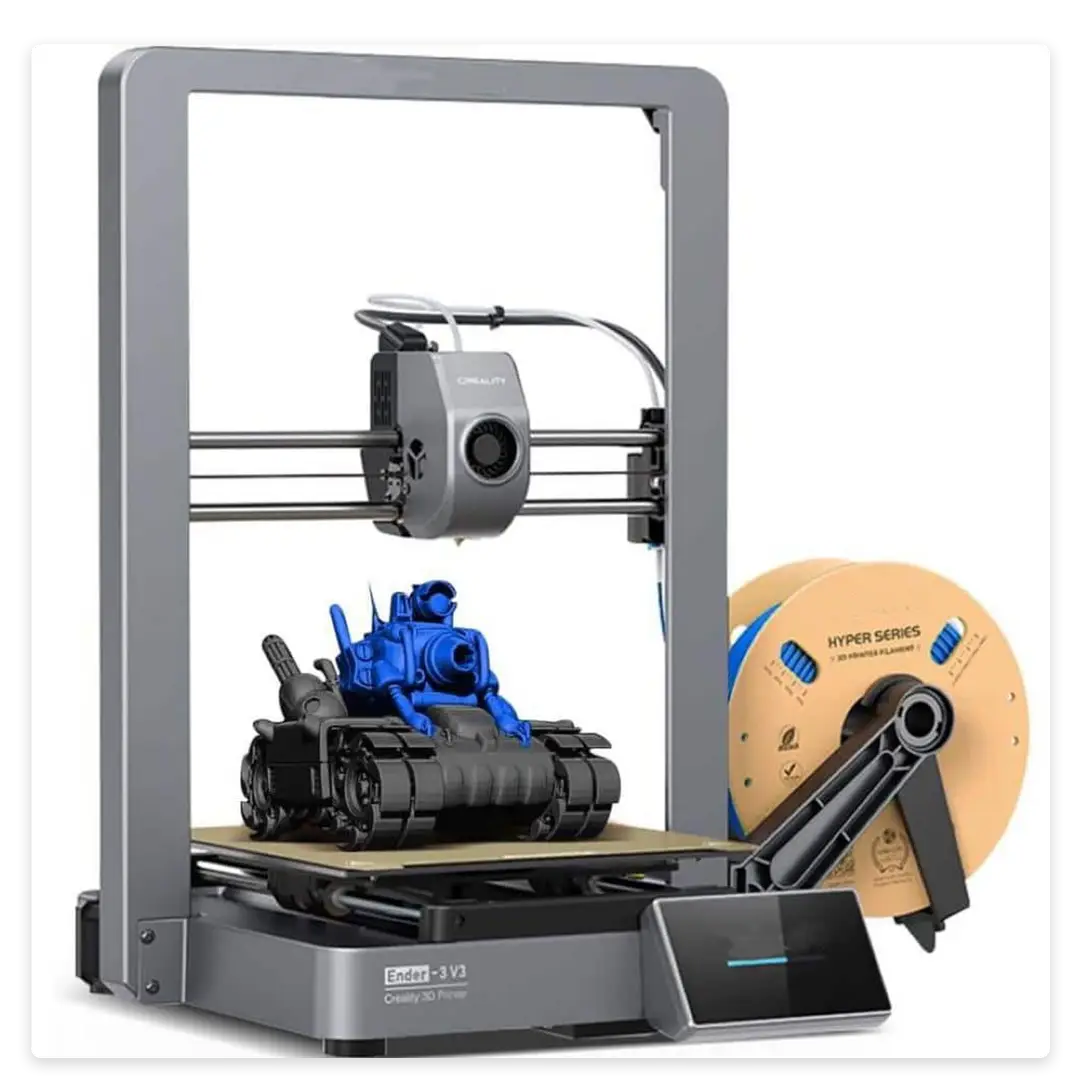
Need something tangible? 3D printing allows you to create physical models of your product in a matter of hours.
This technique is invaluable for hardware prototypes—especially when validating form, fit, and function. From wearables to consumer gadgets, it gives you something real to hold, test, and refine.
Best for:
- Physical product design
- Ergonomic testing
- Functional component fitment
Shark Design Insight:
We use high-speed 3D printers to produce functional enclosures, moving parts, and design mockups—allowing clients to evaluate design iterations within days, not weeks.
4. CNC Machining (Functional Prototypes)
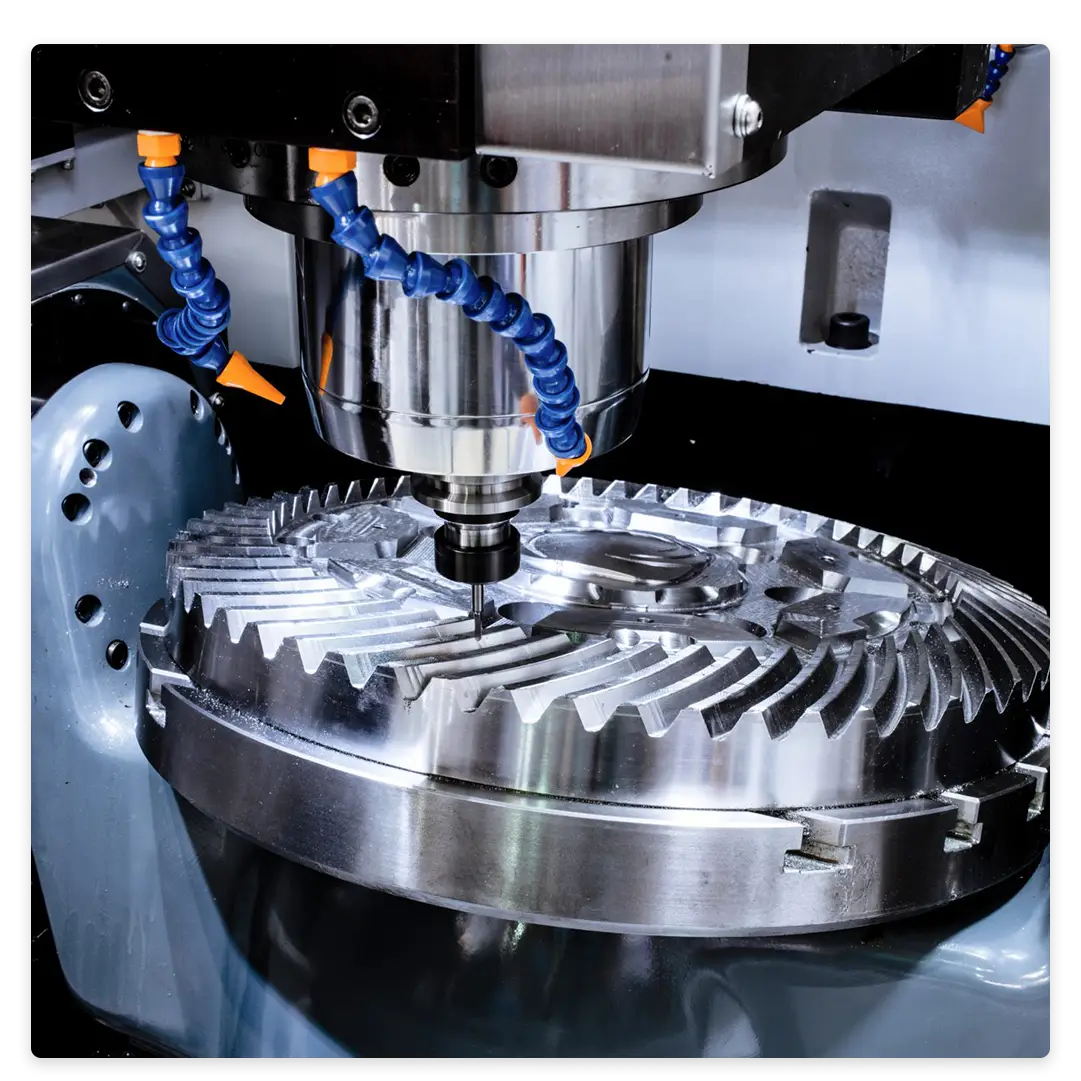
Unlike 3D printing, CNC machining uses real materials like aluminum, ABS, or steel to create durable prototypes. It’s slower and more expensive but necessary for parts that require high strength or tight tolerances.
When to choose it over 3D printing:
- When prototype materials must match final production (e.g., for stress testing)
- When surface finish and precision matter
- For performance testing of moving or load-bearing parts
We often recommend CNC prototyping for electromechanical products, structural housings, or high-impact parts.
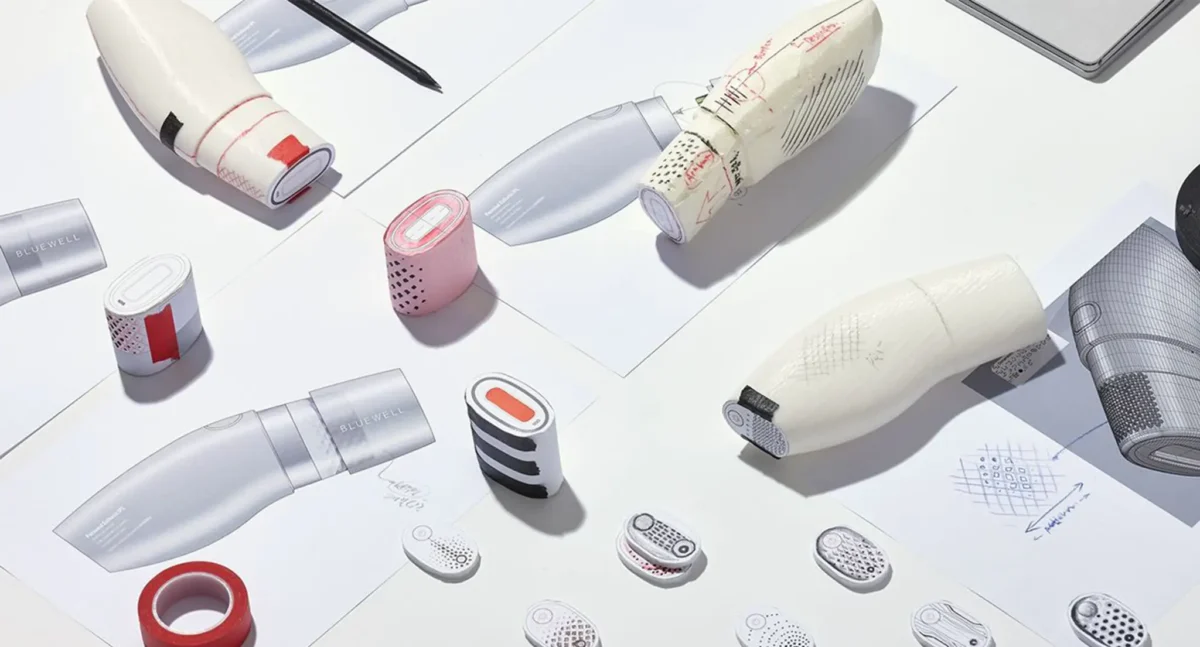
5. Soft Prototyping (Foam, Clay, etc.)
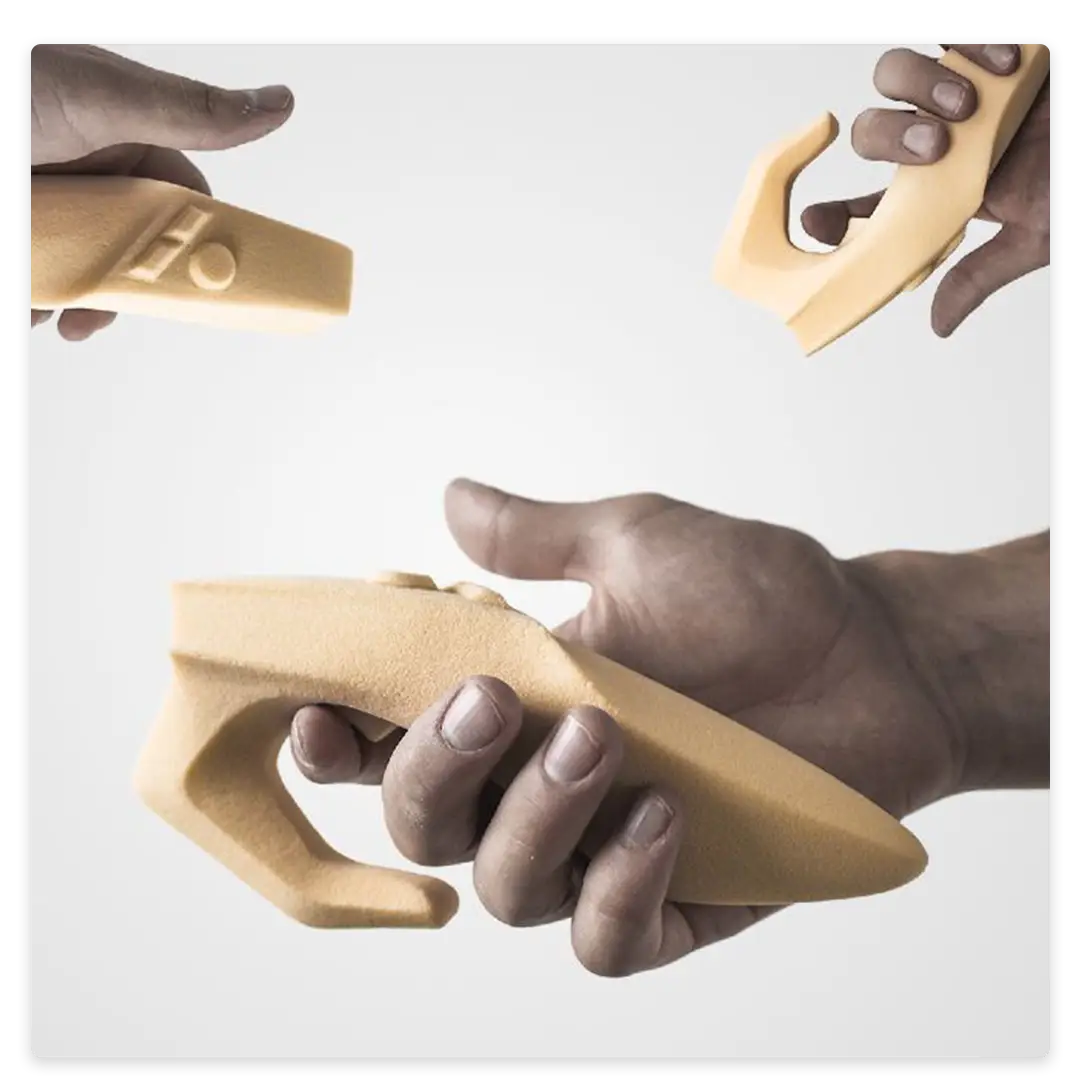
Need to test how a product feels in the hand? Soft prototyping uses materials like foam, clay, or cardboard to model shapes, ergonomics, and proportions quickly.
Best for:
- Early industrial design
- Grip and form testing
- Wearable product shapes
Example:
For a handheld beauty device, Shark Design shaped foam models to test comfort, button placement, and wrist angles. These insights directly informed the CAD design that followed.
6. Virtual Prototyping (AR/VR Simulations)
AR and VR tools allow you to prototype digitally, at full scale, without building a single part. You can test product interactions, spatial layouts, or user interfaces in immersive 3D environments.
Best for:
- Large-scale products (e.g., home appliances, equipment)
- Interactive systems or environments
- Pre-manufacturing visualization
Use Case:
For a smart furniture concept, we created a VR model to simulate user interaction, assembly, and spatial fit in a real-world setting—saving weeks of physical iteration.
7. MVP Prototyping (Minimum Viable Product)
Sometimes, the best way to test a product is to build a barebones working version—the MVP. It includes only the core features needed to validate your idea with real users.
Best for:
- Startups testing product-market fit
- Early adopters and beta programs
- Attracting investors or partners
Shark Design Case Study:
We helped a client launch a basic version of a smart kitchen tool using 3D-printed components and Arduino-based electronics. With user feedback, the next version refined usability, materials, and features for market release.
Choosing the Right Technique
There’s no one-size-fits-all approach to prototyping. The right technique depends on:
- Product type (digital, physical, hybrid)
- Stage of development (ideation vs. refinement)
- Timeline (days vs. weeks)
- Budget (quick tests vs. precision models)
- Fidelity needs (conceptual vs. near-final)
At Shark Design, we guide clients through this decision process, aligning the method with business goals, testing needs, and market strategy.
Need to combine techniques? Often, we’ll begin with low-fidelity sketches, transition to 3D prints, and finish with a CNC prototype—ensuring validation at every step.
Common Prototyping Mistakes to Avoid
Even seasoned teams fall into these traps:
- Overcomplicating early prototypes – Start simple; don’t aim for perfection in the first round.
- Skipping user feedback – Prototypes are only useful if tested with real users.
- Ignoring material constraints – What works in a prototype may not scale in manufacturing.
Avoid these, and your prototyping process will be smoother, faster, and more effective.
Conclusion
Prototyping is the heartbeat of rapid product development. The right technique can accelerate innovation, minimize risk, and get your product into users’ hands—fast.
At Shark Design, we don’t just build prototypes—we build smart pathways from ideas to market-ready solutions.
Need a faster way to prototype your product?
Let’s bring your idea to life. Contact Shark Design to kickstart your rapid product development journey.